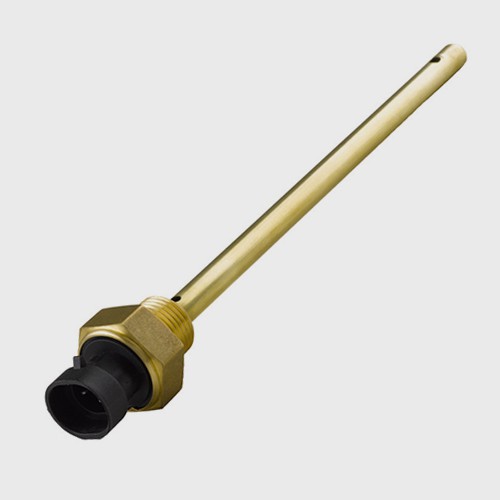
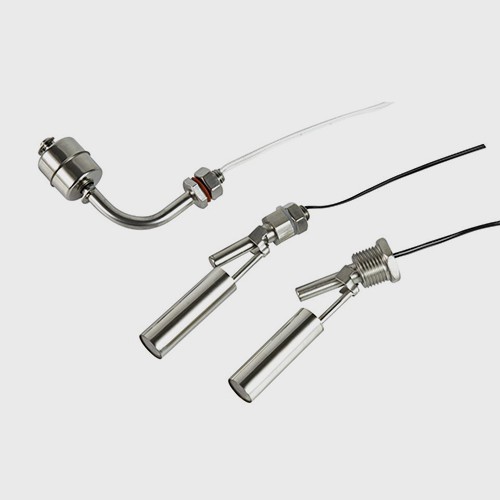
The oil level sensor is a tedious process, and many people worry about it. The following is a detailed explanation of the installation of the oil level sensor:
The first step: Open the fuel tank filling port, observe or use a wooden stick to test the approximate position of the sensor and internal partition of the fuel tank.
Step 2: Determine the position of the hole. The hole should be farther away from the fuel filler port, the sensor of the original car, and the internal partition.
Step 3: Use a 10mm drill to drill a hole with a diameter of 10mm in the fuel tank.
Step 4: Use iron wire to pass through the 10mm hole and pass it out of the fuel filler port to guide the sensor.
Step 5: Put the sensor into the fuel tank from the fuel filler port, and clamp the wire harness end of the sensor with a wire. It is important to ensure that the sensor will not fall off.
Step 6: Apply diesel-resistant sealant around the small holes to prevent oil leakage.
Step 7: Screw on the big nut. If the sensor rotates with the nut at this time, use an open flat screwdriver to fix the notch on the threaded rod at the top of the sensor, and continue to tighten the screw with the 12-inch version.
Step 8: Wiring. The left bar is the sensor's own wiring harness. Brown is the sensor power supply, connected to the GPS host 5V (connected to the GPS brown wire), black is grounded and connected to the negative pole of the GPS host (connected to the GPS black wire), and blue is the fuel signal wire (connected to the GPS purple wire). The line on the right is the line extending from the GPS host to the sensor, which passes from the outside of the nut through the small hole on the side and into the inside of the nut. Note: The extension cord is passed through the hole from the outside to the inside. After the internal wiring, put the cord into the screw. After connecting the 3 connectors, seal the small hole of the incoming wire and the top of the sensor with 704 sealant, and then gently coil the wire and place it inside the nut.
Step 9: Apply some sealant to the seal.
Step 10: Tighten the cap tightly, and the strength should not be opened with bare hands.
Step 11: Arrange the wiring harness and the installation is complete.

 English